Manage your general workspace settings
Know all about managing your general workspace settings
Instructions
A step-by-step guide
Workspace settings consist of General & Subscriptions. This article will explain all you need to know about general workspace settings. To know more about workspace subscriptions click here.
General Workspace settings
Navigating to General settings
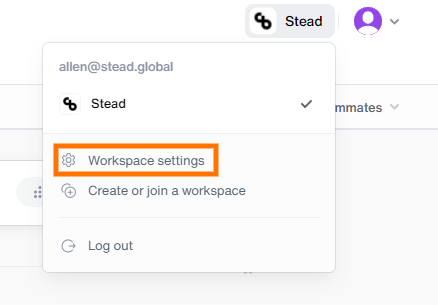
Click on your workspace name on the top right corner, followed by the General option on the sidebar.
Setting up General workspace
Note: All the settings are done by the Owner who created the workspace and can be changed by the owner or admins only. To change any of the following settings read below.
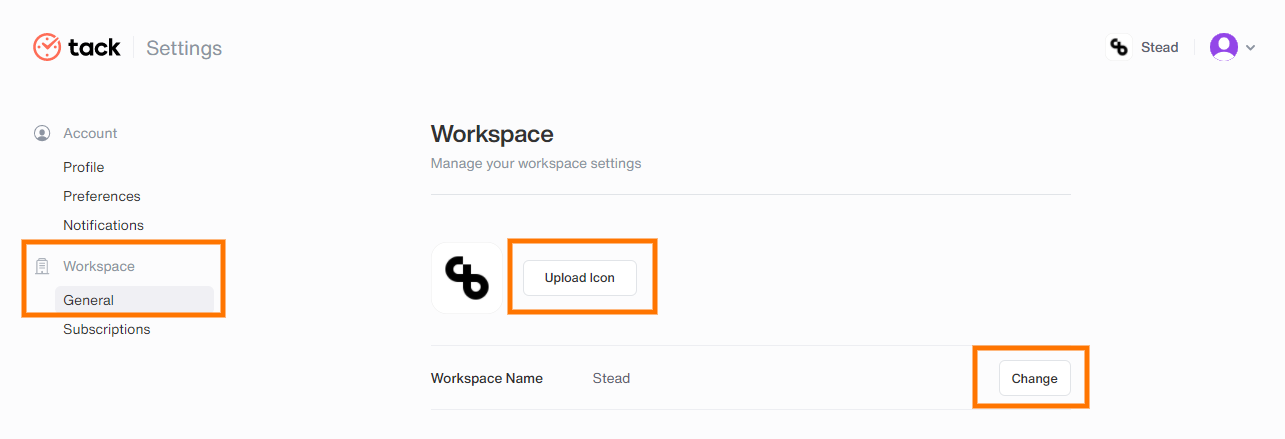
- Uploading logo
- Click the Upload Icon button to upload a new workspace logo. Can be uploaded via saved images from desktop or URL link.
- Workspace name
- A pre-created name will be displayed which can be changed by clicking on the Change button beside the workspace name.
Note: Your workspace name is displayed in the Tack app and billing invoices. It will usually be (or include) the name of your company.
- Uploading logo
Managing Settings & Permissions
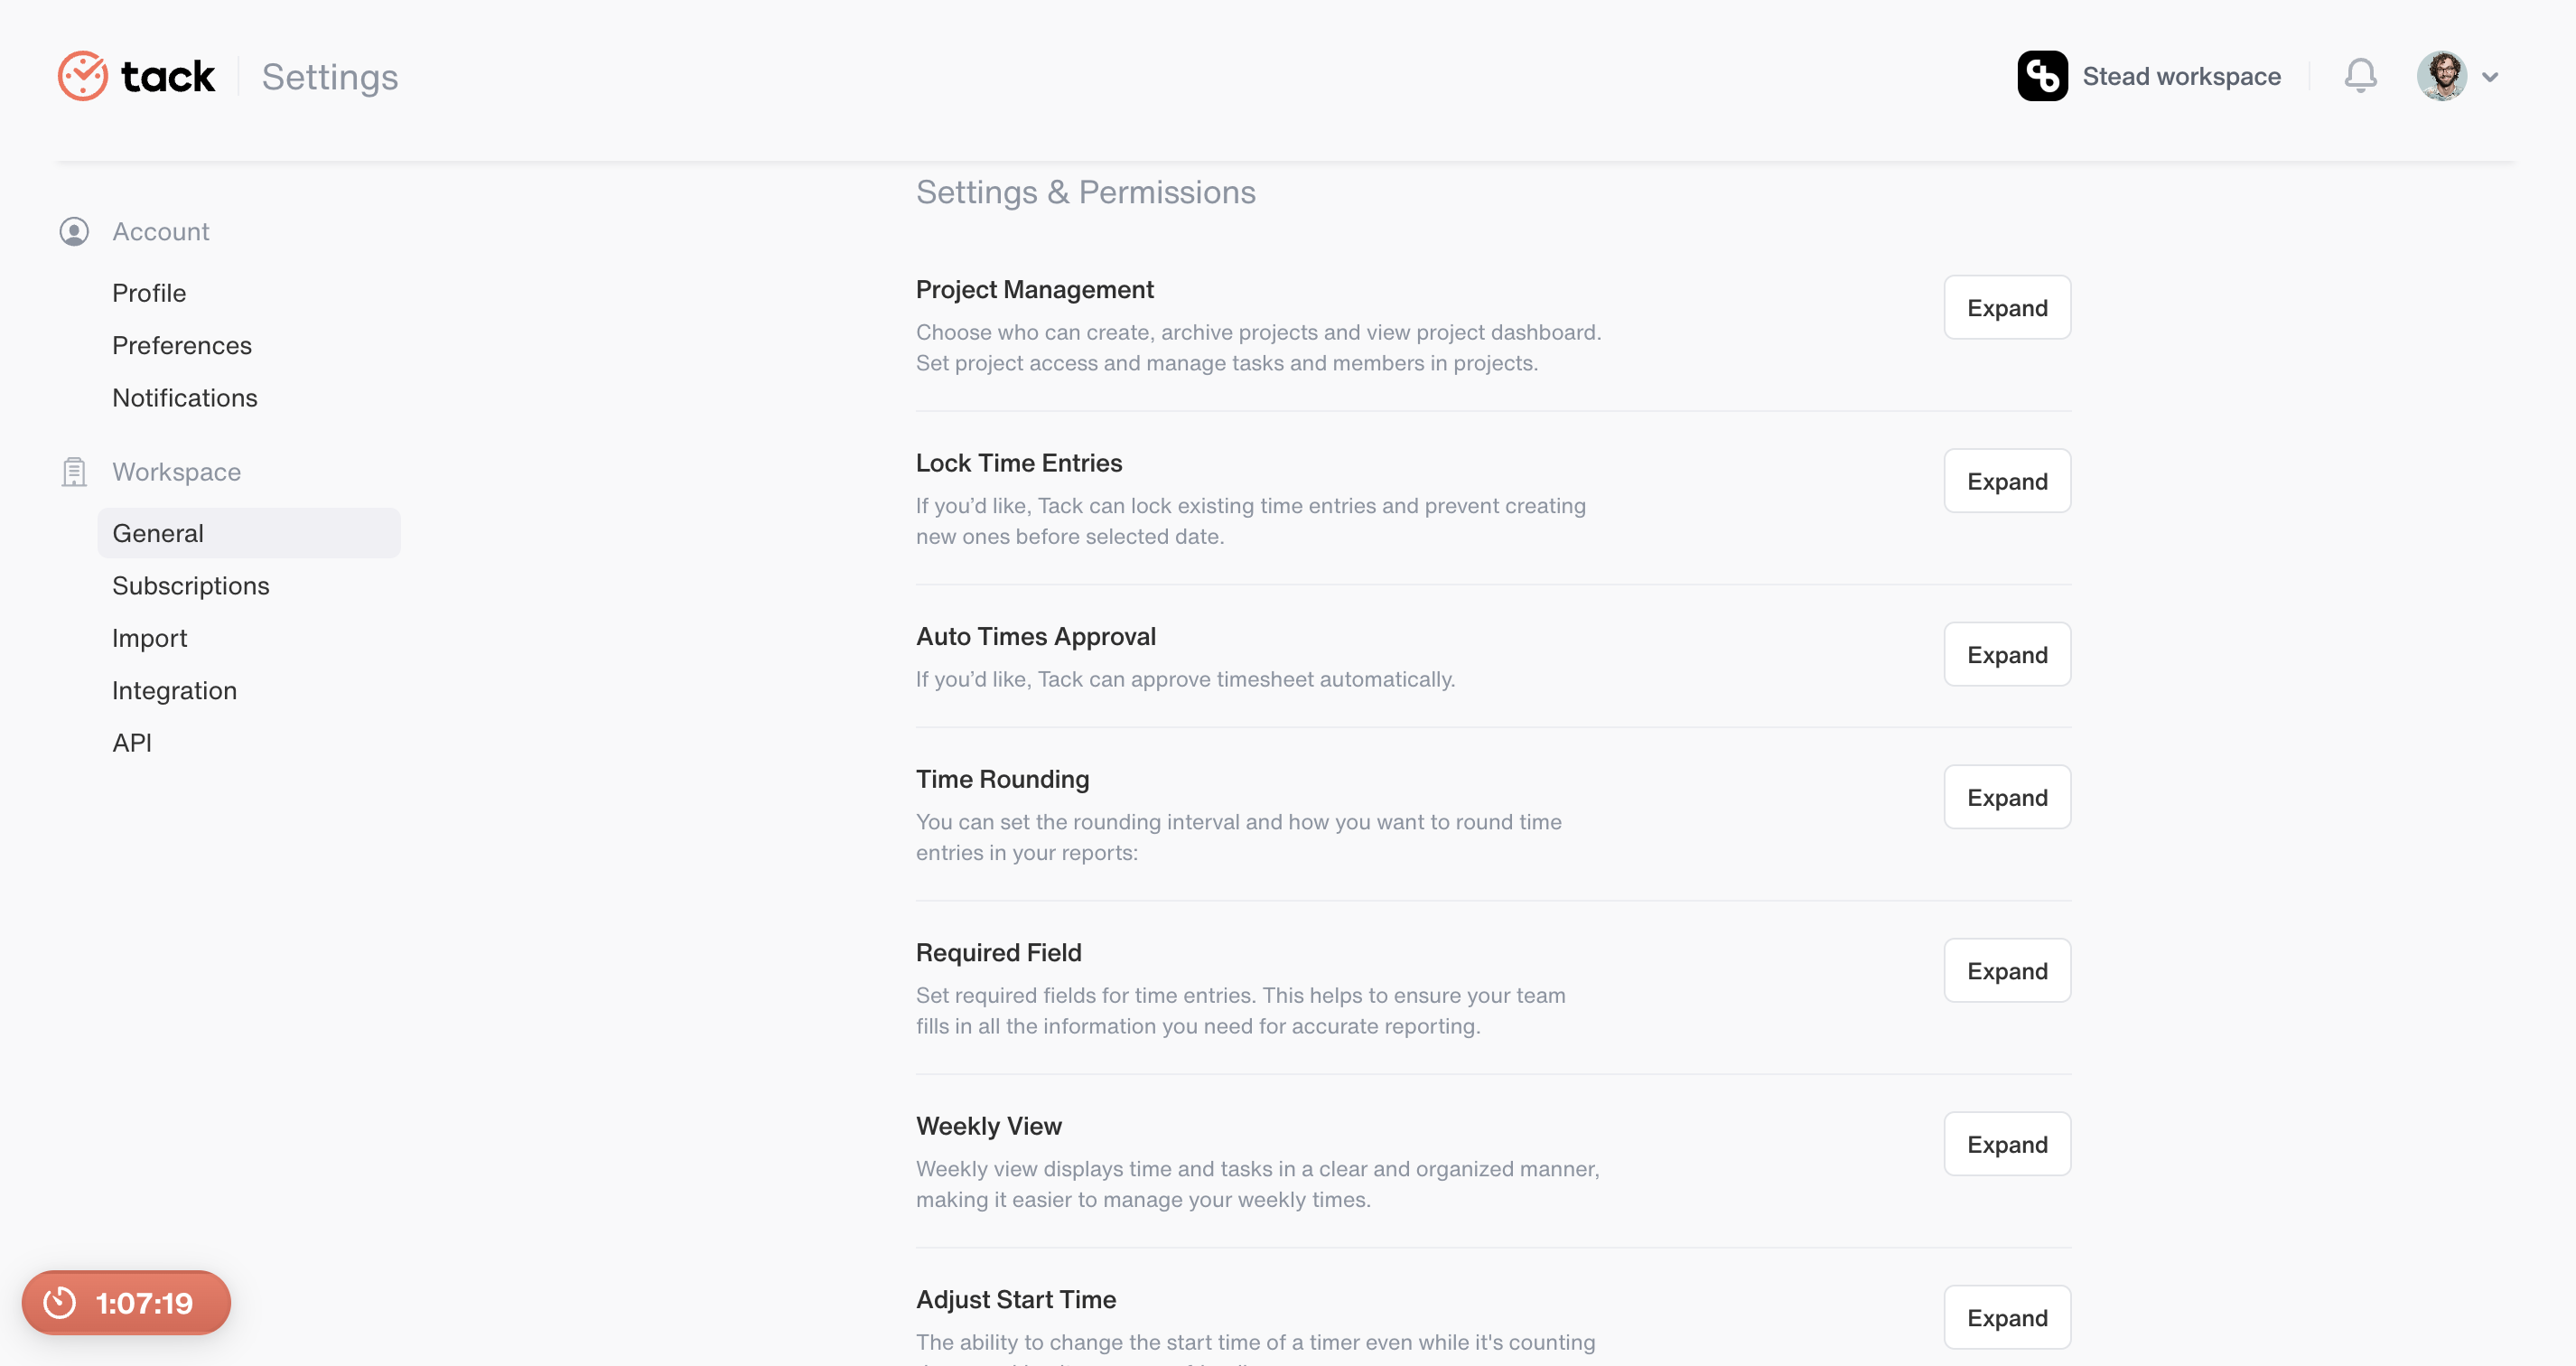
a. Project Management
Note: This setting also you to choose who can create, archive projects, and view project dashboard. Set project access and manage tasks and members in projects.
- On the Workspace general settings page click the Expand option present next to the Project Management title and set your desired permissions.
- You can set the following permissions under this option.
- Set public or private to projects by default - while creating a project this will be in effect depending on whether you choose public or private.
- People who can view project dashboard, People who can create projects, People who can create tasks in projects, People who can manage people in private projects all these following options are set by the owner, and these options can be accessed by the Admin and Owner only.
- People who can archive projects this option is set by the owner and also can only be used by the owner.
b. Lock Time Entries
Note: This feature allows you to lock existing time entries updated by users and prevent creating new ones before the selected date.
- On the Workspace general settings page click the Expand option
present next to the Lock Time entries title and set your desired
permissions.
- Lock time entries up to
- Checkmark this box and you can lock time entries up to the given date by clicking on the Today option present next to the title.
- Automatically update lock date
- Checkmark this box and you can set intervals by how many days older a time entry should be a lock or you can choose the weekly lock date or monthly lock date by clicking on the Older option. This will automatically lock time entries within the chosen interval.
- Lock time entries up to
c. Auto Times Approval
Note: Tack can approve timesheet automatically.
- On the Workspace general settings page click the Expand option present next to the Auto Times Approval title and set your desired permissions.
- Choose the day after which you want to approve.
d. Time Rounding
Note: You can set the rounding interval and how you want to round time entries in your reports.
On the Workspace general settings page click the Expand option present next to the Time Rounding title and set your desired permissions.
Choose if you want to Round to nearest/up to/down to and the minutes.
Example:
- Round to the nearest 15mins will round up the time entries to the nearest 15mins.
- Round up to 15mins will round up the time entries to the next 15mins.
- Round down to 15mins will round down the time entries to the past 15mins.
e. Required Field
Note: Set required fields for time entries. This helps to ensure your team fills in all the information you need for accurate reporting.
- On the Workspace general settings page click the Expand option present next to the Required field title and set your desired permissions.
- Choose the options you would like to be filled out before recording time entries. i.e Project & task and Description. Checkmark these boxes and it will be mandatory to fill these fields before recording time entries.
f. Weekly View
Note: Weekly view displays time and tasks in a clear and organized manner, making it easier to manage your weekly times.
- On the Workspace general settings page click the Expand option present next to the Weekly View title and set your desired permissions.
- This feature enables editing of time entries in a weekly view.When enabled, regular users and admins can edit, while when disabled, only admins can edit, and regular users can only view
g. Adjust Start Time
Note: The ability to change the start time of a timer even while it’s counting down, making it more user-friendly
- On the Workspace general settings page click the Expand option present next to the Adjust Start Time title and set your desired permissions.
h. Time Off
Note: Time Off feature allows you to incorporate vacations for your team members.
- On the Workspace general settings page click the Expand option present next to the Time Off title and set your desired permissions.
- Choose Working Days.
- Set working hours.
i. Screenshot
Note: Generate screenshots every 5 minutes while the time is running (desktop only)
- On the Workspace general settings page click the Expand option present next to the Screenshot title and set your desired permissions.
j. Billing Set-up
Note: These settings will be used if not defined otherwise on a team member or Project level
- On the Workspace general settings page click the Expand option present next to the Billing Set-up title and set your desired permissions.
- You can choose who can see the billable rates. i.e Everyone or Admins only
- You can set billable or non-billable to projects by default. If billable you can set the hourly rate and currency type.
k. Workspace Ownership
Note: Choose who controls the data associated with this Workspace. Only administrator can become the workspace owner.
- On the Workspace general settings page click the Expand option present next to the Workspace Ownership title and set your desired permissions.
- Click the Transfer Ownership button and a dialog will open
- Select the new workspace owner
- Enter the Tack password
Note: Transferring ownership cannot be undone. The new Workspace Owner will have the ultimate authority over the workspace — including transferring ownership to others.
l. Delete Workspace
Note Deleting a Tack workspace cannot be undone. All of it’s data will be irretrievable.