How to manage Projects?
Know all about project creation & management
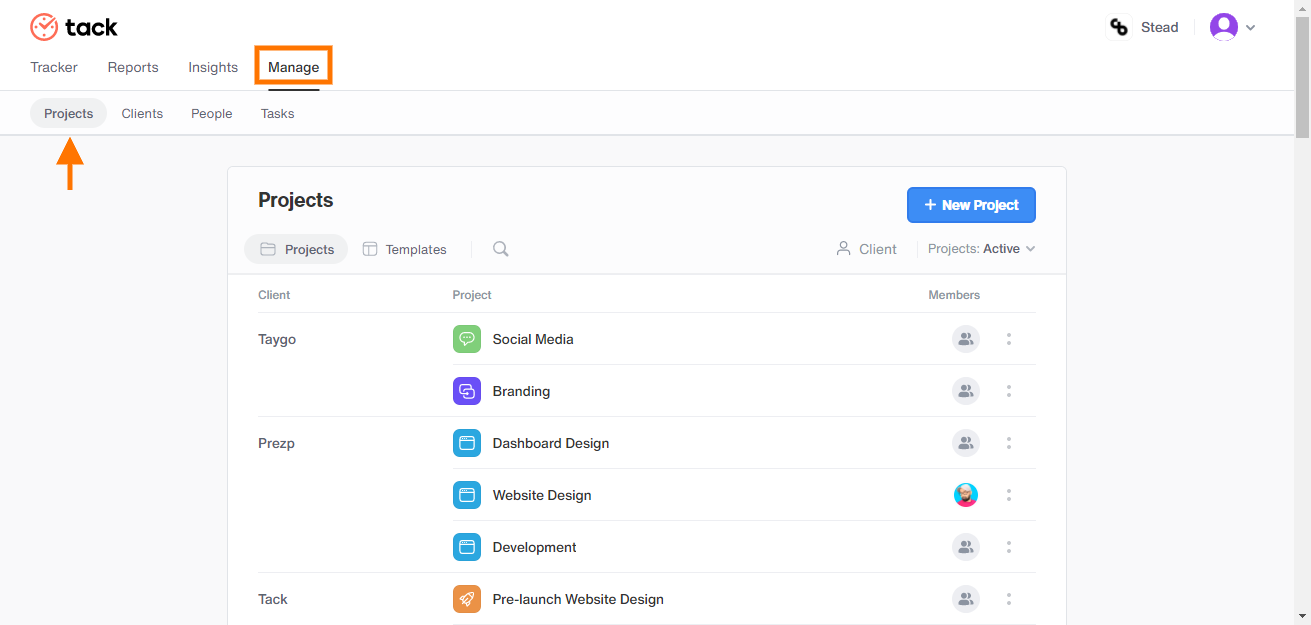
Navigating to Projects
Click on Manage > Projects. A list of projects will be displayed if there any.
Creating new projects
- Click on the ‘+ New Project’
- Fill in the Project name, choose color and icon.
- Select the client you want to assign the project to.
- Choose a pre-created template if needed.
- If the Billable option turned off will be considered non-billable. If turned on set the cost and estimated hours. If it is a task based estimate turn the ‘Task-based estimate’ button on.
- The ‘Make private’ option if turned off will be considered public and accessible by all users and if turned on send email invites to the particular users on the last screen.
- Once you hit the ‘Create Project' button. You will be directed to another screen, common pre-created tasks will be displayed, or type a new task name and create a new task.Cancel any task from the list by clicking on the ‘x’ button next to task names.
- If the project is made private after the selecting tasks you will be taken to another screen to invite other users via email.
More details about projects
Client details & projects
- Click on any client name, a pop-up will be displayed with client details and the projects assigned to the client as well as any shared reports.
Details of Projects, tasks & team members
Clicking on a project name will give you the following options
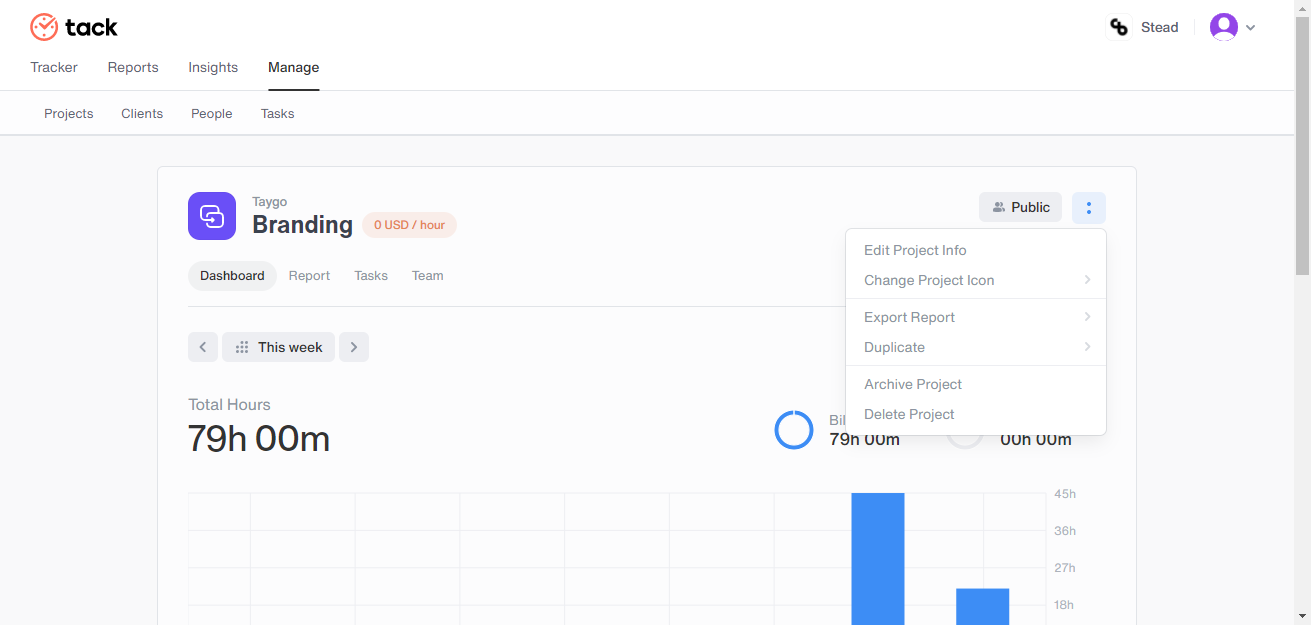
Dashboard
- Next to the project name, the hourly rate is also mentioned in red. Format- 0 USD/hour
- A mini dashboard view of monthly data such as total Hours, Billable, and Non-Billable hours displayed in numbers and pictorial graphs.
- Below the graph, tasks and their respective tracked hours are mentioned as well as team performance in terms of team members who worked and their respective hours.
Reports
- Reports of weekly tracked hours in graph formats, total Hours, Billable, and Non-Billable hours displayed in numbers. A list of tasks and their respective hours tracked are also mentioned, click on any task and the team members who worked with their tracked hours are mentioned. Click on the ‘This week’ option to switch between dates.
Tasks
- All tasks with the number of hours progressed are mentioned. Click on any hour displayed to edit the estimated hour.
- Archive task - click on the ':' option present next to any task name and choose the archive option.
- Click on the + New task to create a new task for the project or choose the Add task option at the bottom of the page.
Team
- All the team members working on the project are displayed with their rate and cost for the particular project
- Add member - Click on +Add member and type the email and invite new members to the project.
- Delete member - Click on the ':' present next to the particular team member name and choose the delete option.
Note: On the top right corner, it will be mentioned in a grey color rectangular box whether the project is public or private. If the project is private the team members' profile icons will be displayed.

To edit Project details, task details, and more.
Click on any project name on the next page on the top right corner click on the ':' icon and you will get a drop-down menu with the following options :
Edit project info
You can edit the project name, change the client assigned, and hit the toggle button to switch a project from public to private and vice versa. Click on the update button once you have made the changes.
Assign Members (if the project is private)
This option is present in the drop-down menu if the project is made private.A pop-up window will appear, type the name or email ID of the team member and it will be added to the list. Hit on the ‘Done’ button after adding team members.
Note: If the project is made public this option will not display in the drop-down menu.
Change Project icon
This option helps you to change the project icon and its color.
Export Report
You can export the project report and download it in PDF, CSV or XLSV
Duplicate
Here you can duplicate any project and assign it to any other company. Click on the Duplicate option and a pop-up window will appear, enter the project name and client you would want to assign the project to. By default project is set as public, click on the toggle button and make it private if needed. Click on the Duplicate project button once you finish.
Archive Project
You can archive a particular project by clicking on this option and it will be added to the archive list.
Delete Project
You can delete a particular project by clicking on this option and it will be deleted from the project list.
Filtering Project list via Client name
- On top of the ‘Project list' click on the grey person icon named as client, choose a particular client or multiple clients that you want to view and the project list will filter according to your preference.
To view the Active or Archived project list
- On the right-hand corner under the ‘New Client’ button click on the ‘Active v’ button and choose whether you want to view the Archived or Active list. Note: By default, the Active list is selected.
To find your desired Client or Project from the project list
- Click on the ‘Magnifying glass’ symbol and type your client’s name or project name on the search bar to find the specific client you are looking for.